
Are you considering upgrading your home with hardwood floors? If so, you’re likely exploring the many options available, including prefinished and unfinished hardwood. While prefinished hardwood offers convenience and speed, unfinished hardwood provides a customizable and authentic appeal. If you’ve decided to go the route of unfinished hardwood floors, you definitely won’t regret it, but there are some parts of the process you should be aware of. FloorU is a local hardwood flooring company in Virginia and we outline the process below.
Understanding Unfinished Hardwood Floors
Before diving into the installation process, it’s important to understand what the process entails. Unlike prefinished hardwood, which comes already sanded, stained, and sealed from the factory, unfinished hardwood arrives raw and requires on-site finishing. This means that after installation, the wood will be sanded, stained (if desired), and coated with protective finishes, such as polyurethane or oil.
Pre-Installation Preparation
Installing unfinished hardwood floors is a meticulous process that begins with thorough preparation. Before the installation crew arrives, it’s crucial to ensure the subfloor is clean, level, and dry. Any imperfections in the subfloor can affect the integrity and aesthetics of the finished hardwood floors. Additionally, furniture and other items should be removed from the room where the installation will take place to provide ample space for the process.
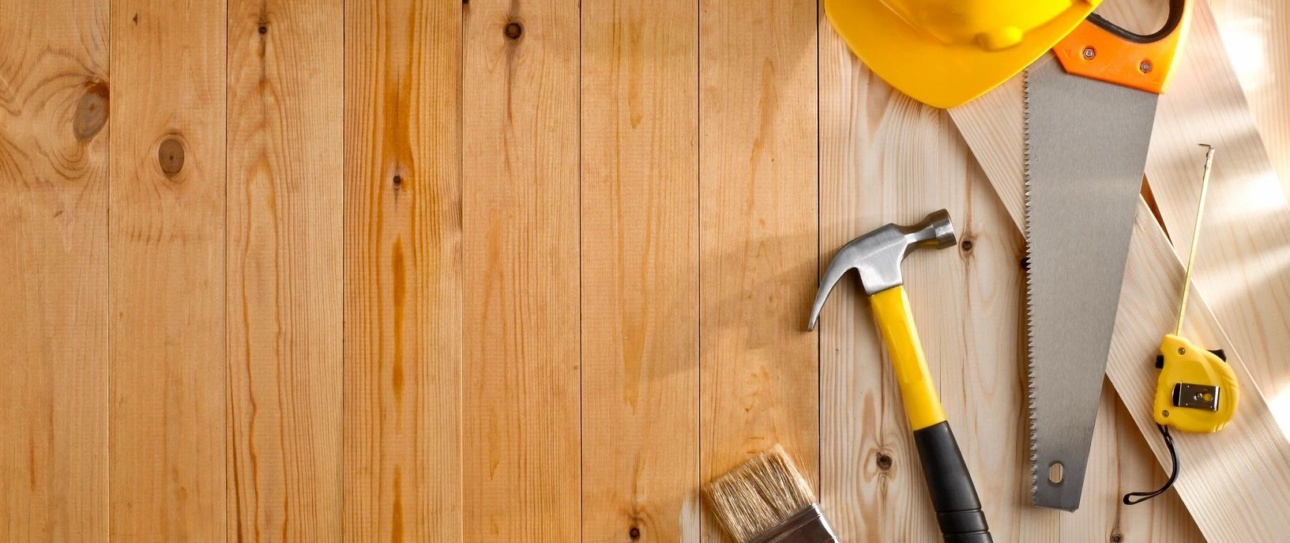
Installation Process
Once the pre-installation preparation is complete, the installation of unfinished hardwood floors can start.
The process typically looks like:
- Acclimation: Before installation, the unfinished hardwood planks need to acclimate to the environment where they’ll be installed. This allows the wood to adjust to the temperature and humidity levels of the space, minimizing the risk of warping or cupping after installation.
- Installation: With the hardwood planks acclimated, the installation team will begin laying the flooring. Depending on the chosen installation method—such as nail-down, glue-down, or floating—the planks will be secured to the subfloor using the appropriate technique.
- Sanding: Once the hardwood planks are installed, the next step is sanding. Sanding serves to smooth out any imperfections in the wood and create a level surface for staining and finishing. The sanding process requires skill and precision to achieve optimal results.
- Staining (optional): If you desire a specific color or tone for your hardwood floors, staining can be applied after sanding. Staining allows you to customize the appearance of your floors to complement your home’s aesthetic. It’s essential to select a stain that enhances the natural beauty of the wood while also considering factors such as lighting and décor.
- Finishing: After sanding (and staining, if applicable), the final step is applying the finish. This protective layer seals the wood, providing durability and enhancing its longevity. Common finish options include polyurethane, which offers a glossy or matte sheen, or oil, which provides a more natural, matte look.
Post-Installation Care
Once the installation and finishing processes are complete, it’s crucial to take proper care of your newly installed unfinished hardwood floors to ensure their longevity and beauty. Here are some essential tips for post-installation care:
- Wait before walking: Avoid walking on the floors for at least 24 hours after finishing to allow the finish to cure properly.
- Use felt pads: Place felt pads under furniture legs to prevent scratches and dents on the hardwood surface.
- Clean regularly: Regular cleaning is essential to maintain the appearance of your hardwood floors. Use a soft-bristle broom or a vacuum with a hardwood floor attachment to remove dirt and debris. Avoid using harsh chemicals or abrasive cleaners, as they can damage the finish.
- Protect from moisture: Hardwood floors are susceptible to moisture damage, so be cautious when cleaning and avoid excessive exposure to water. Immediately wipe up any spills to prevent staining or warping.
- Recoat as needed: Over time, the finish on hardwood floors may wear down, especially in high-traffic areas. Keep an eye on the condition of your floors and recoat them as needed to maintain their protective layer.
Let FloorU Install Your Wood Floors Today!
Installing unfinished hardwood floors is a rewarding investment that adds timeless beauty and value to your home. By understanding the installation process and following proper care and maintenance practices, you can enjoy your stunning hardwood floors for years to come. If you’re ready to transform your space with the natural elegance of hardwood, contact FloorU today to learn more about our installation services and schedule a consultation.