
Before refinishing your hardwood floors, proper sanding is a crucial step that ensures a smooth, even surface for the application of new finishes. In this comprehensive guide, we will walk you through the hardwood floor sanding process, including preparation, equipment needed, techniques, and tips to achieve professional results.
Preparing your wood floors for sanding
Begin by clearing the room of furniture, rugs, and any other obstacles that may hinder the sanding process. Inspect the floor for any nails, staples, or protruding objects that could damage the sandpaper or sander. Seal off adjacent rooms or areas with plastic sheeting to minimize dust migration. Additionally, ensure good ventilation by opening windows or using fans to keep the air circulating.
Equipment and safety gear
Invest in or rent the necessary equipment for the sanding process, including a drum sander, edge sander, and a shop vacuum. Don’t forget to wear safety gear, such as goggles, a dust mask, and ear protection, to shield yourself from dust particles and noise. Ensure that the sandpaper and sanding discs are of high quality and appropriate grit for your specific needs.
Wood floor sanding techniques
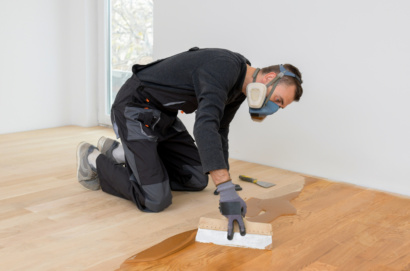
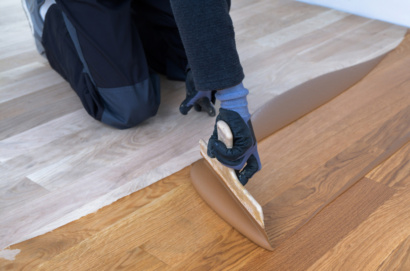
Start with the drum sander, moving it in a straight line along the grain of the wood, overlapping each pass slightly. Begin with a coarse-grit sandpaper and gradually progress to finer grits for a smoother finish. Remember to keep the sander moving at all times to prevent uneven sanding or grooves. Once the main area is complete, use an edge sander to tackle corners, edges, and hard-to-reach areas. Take extra care near walls and baseboards to avoid damaging them.
Wood Floor Sanding Tips and Considerations
- Work methodically, sanding in the same direction as the wood grain.
- Avoid applying excessive pressure on the sander, as it may result in uneven sanding or gouges.
- Change the sandpaper regularly to maintain optimal performance.
- Keep the sander in motion while it’s in contact with the floor to prevent sanding marks.
- Take breaks and inspect the sanded area to ensure consistency and detect any imperfections that require further sanding.
Dust Removal and Cleaning
Once the sanding is complete, use a shop vacuum or dust containment system to remove the dust from the floor surface, corners, and crevices. Follow up with a thorough cleaning using a tack cloth or damp mop to eliminate any remaining debris or dust particles before proceeding with the refinishing process.
Conclusion
Proper hardwood floor sanding is a vital step in preparing the surface for refinishing. By following the correct techniques, using appropriate equipment, and taking necessary precautions, you can achieve a smooth and flawless foundation for the application of new finishes. Take your time, pay attention to detail, and enjoy the rewarding process of revitalizing your hardwood floors to their former glory.
At FloorU, our crew of professionals has been prepping, sanding, and refinishing hardwood floors for over 30 years! Our flooring company proudly serves the State of Virginia; contact us today for a FREE hardwood floor restoration quote.